
Introduction
Until now, I have used No-IP because my router supports it. At the time, I expected to leave the home server switched off, so having the router update a separate Dynamic DNS service made sense.
I have since found that keeping the server running is more useful, and its power consumption is low enough for my setup. No-IP’s free plan also requires me to confirm the hostname every 30 days to keep it active. This is the reminder I received:
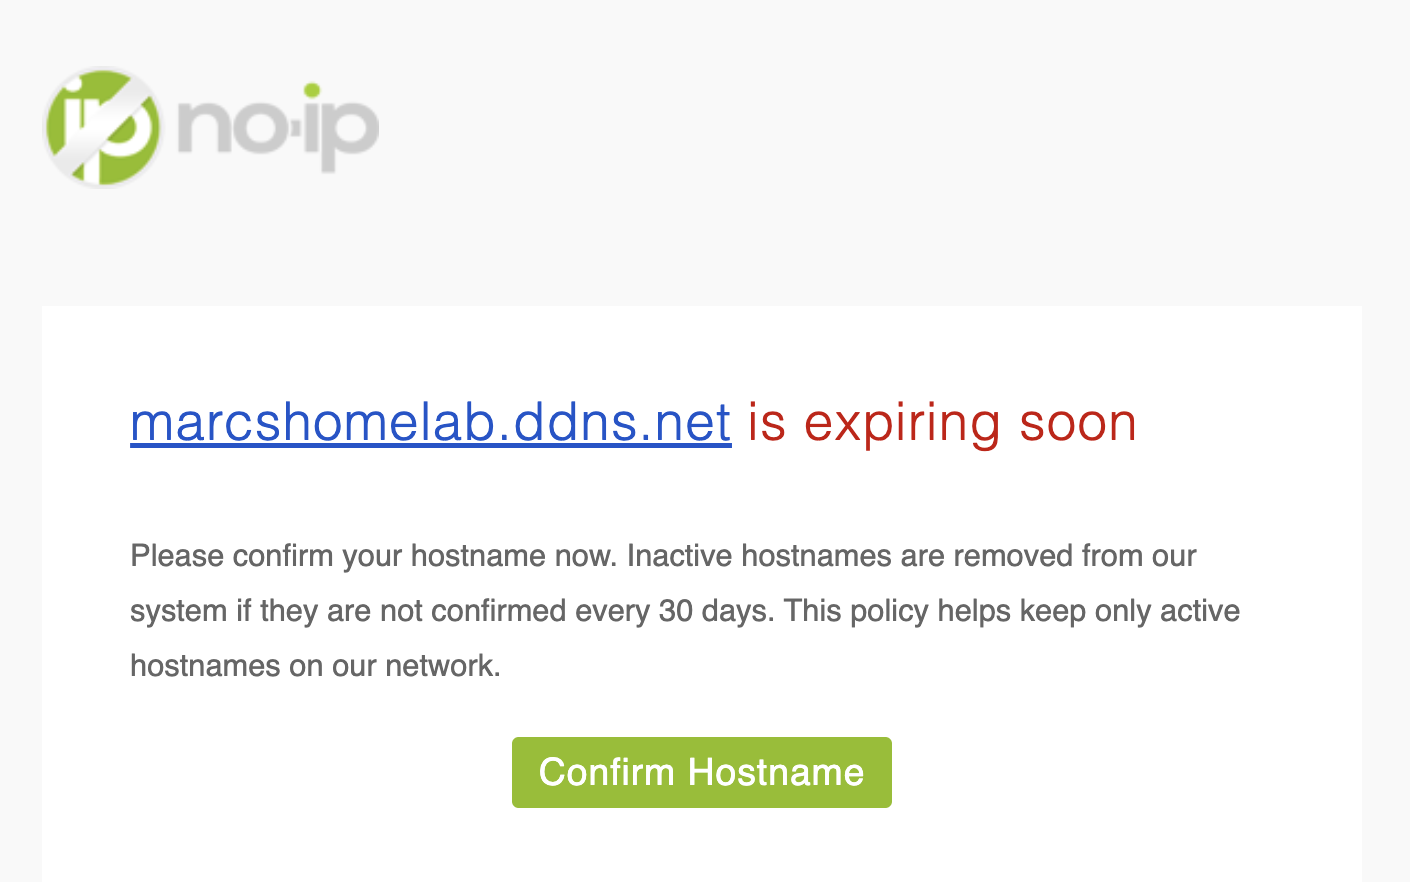
I wanted to remove that recurring maintenance and simplify the DNS path.
Choosing a replacement
I considered DuckDNS and ddclient. DuckDNS would avoid the No-IP confirmation step, but it would still add another provider and hostname to the setup. Instead, I chose ddclient, which can update my Cloudflare DNS record directly through Cloudflare’s API:
Before: Home router → No-IP → Cloudflare CNAME
After:  Home server running ddclient → Cloudflare API → Cloudflare A record
This keeps my existing domain in Cloudflare and removes the No-IP hostname from the resolution path. I also decided to install ddclient directly on the server instead of running it in a Docker container. It is a small system service, and installing it through apt lets systemd start it at boot and makes its logs easy to check with journalctl. Keeping it outside Docker also means DNS updates do not depend on the Docker daemon or container networking being available. A container would also work, but for this single service, installing it on the host keeps the setup simpler.
Installation and configuration
1. Install ddclient
I installed ddclient on the Ubuntu server:
sudo apt install ddclient -y
ddclient checks the public IP address and updates DNS when it changes.
2. Prepare Cloudflare access
The updater needs permission to change DNS records in the relevant Cloudflare zone. I created an API token for DNS edits and noted the zone ID for the configuration. The token should be restricted to the required zone and DNS edit permissions.
3. Configure ddclient
I edited the configuration file:
sudo vim /etc/ddclient.conf
This is the configuration I used, with the API token replaced by a placeholder:
# Configuration file for ddclient generated by debconf
# /etc/ddclient.conf

daemon=300
syslog=yes
ssl=yes

use=web, web=ipify-ipv4

protocol=cloudflare
zone=marcgeremias.com
ttl=300

password='REPLACE_WITH_YOUR_CLOUDFLARE_API_TOKEN'

marcgeremias.com,*.marcgeremias.com,vpn.marcgeremias.com
The settings control how ddclient detects the address and updates DNS:
daemon=300checks for IP changes every 300 seconds (five minutes).syslog=yessends status and error messages to the system log, which I can inspect withjournalctl.ssl=yesuses an encrypted connection to Cloudflare’s API.use=web, web=ipify-ipv4asks ipify for the server’s public IPv4 address. This is the address Cloudflare needs, rather than the server’s private LAN address.protocol=cloudflareselects Cloudflare’s DNS API;zone=marcgeremias.comidentifies the DNS zone to update.ttl=300requests a five-minute DNS record TTL.passwordis the Cloudflare API token. It should have DNS edit permission only for this zone; the real value must stay private and should never be committed or published.- The final line tells ddclient to update the zone apex, the wildcard hostname, and the VPN hostname to the detected public IP.
One detail is worth checking: the successful API response I received showed ttl: 1, which Cloudflare uses to represent automatic TTL. The update succeeded, but that response does not confirm a fixed 300-second TTL, so I would check the record in Cloudflare if setting an exact TTL is important.
4. Change the DNS record from CNAME to A
My existing Cloudflare record was a CNAME pointing to the No-IP hostname. Since ddclient will publish the changing public IPv4 address directly, I changed that record to an A record for the hostname I want to keep updated: vpn.marcgeremias.com.
The A record must correspond to the same hostname configured in ddclient.
5. Keep the updater running
I enabled and started the ddclient service so it can run automatically and continue updating DNS after a server restart:
sudo systemctl enable --now ddclient
sudo systemctl status ddclient
I also checked that the configuration’s update interval and IP-detection method were appropriate for the server. With the service running, ddclient periodically checks the public address and updates Cloudflare when needed.
6. Check the logs
Finally, I checked the service logs for a successful update and any configuration or API errors:
sudo journalctl -u ddclient --since "today" --no-pager
The successful update looked like this, with the public IP replaced here:
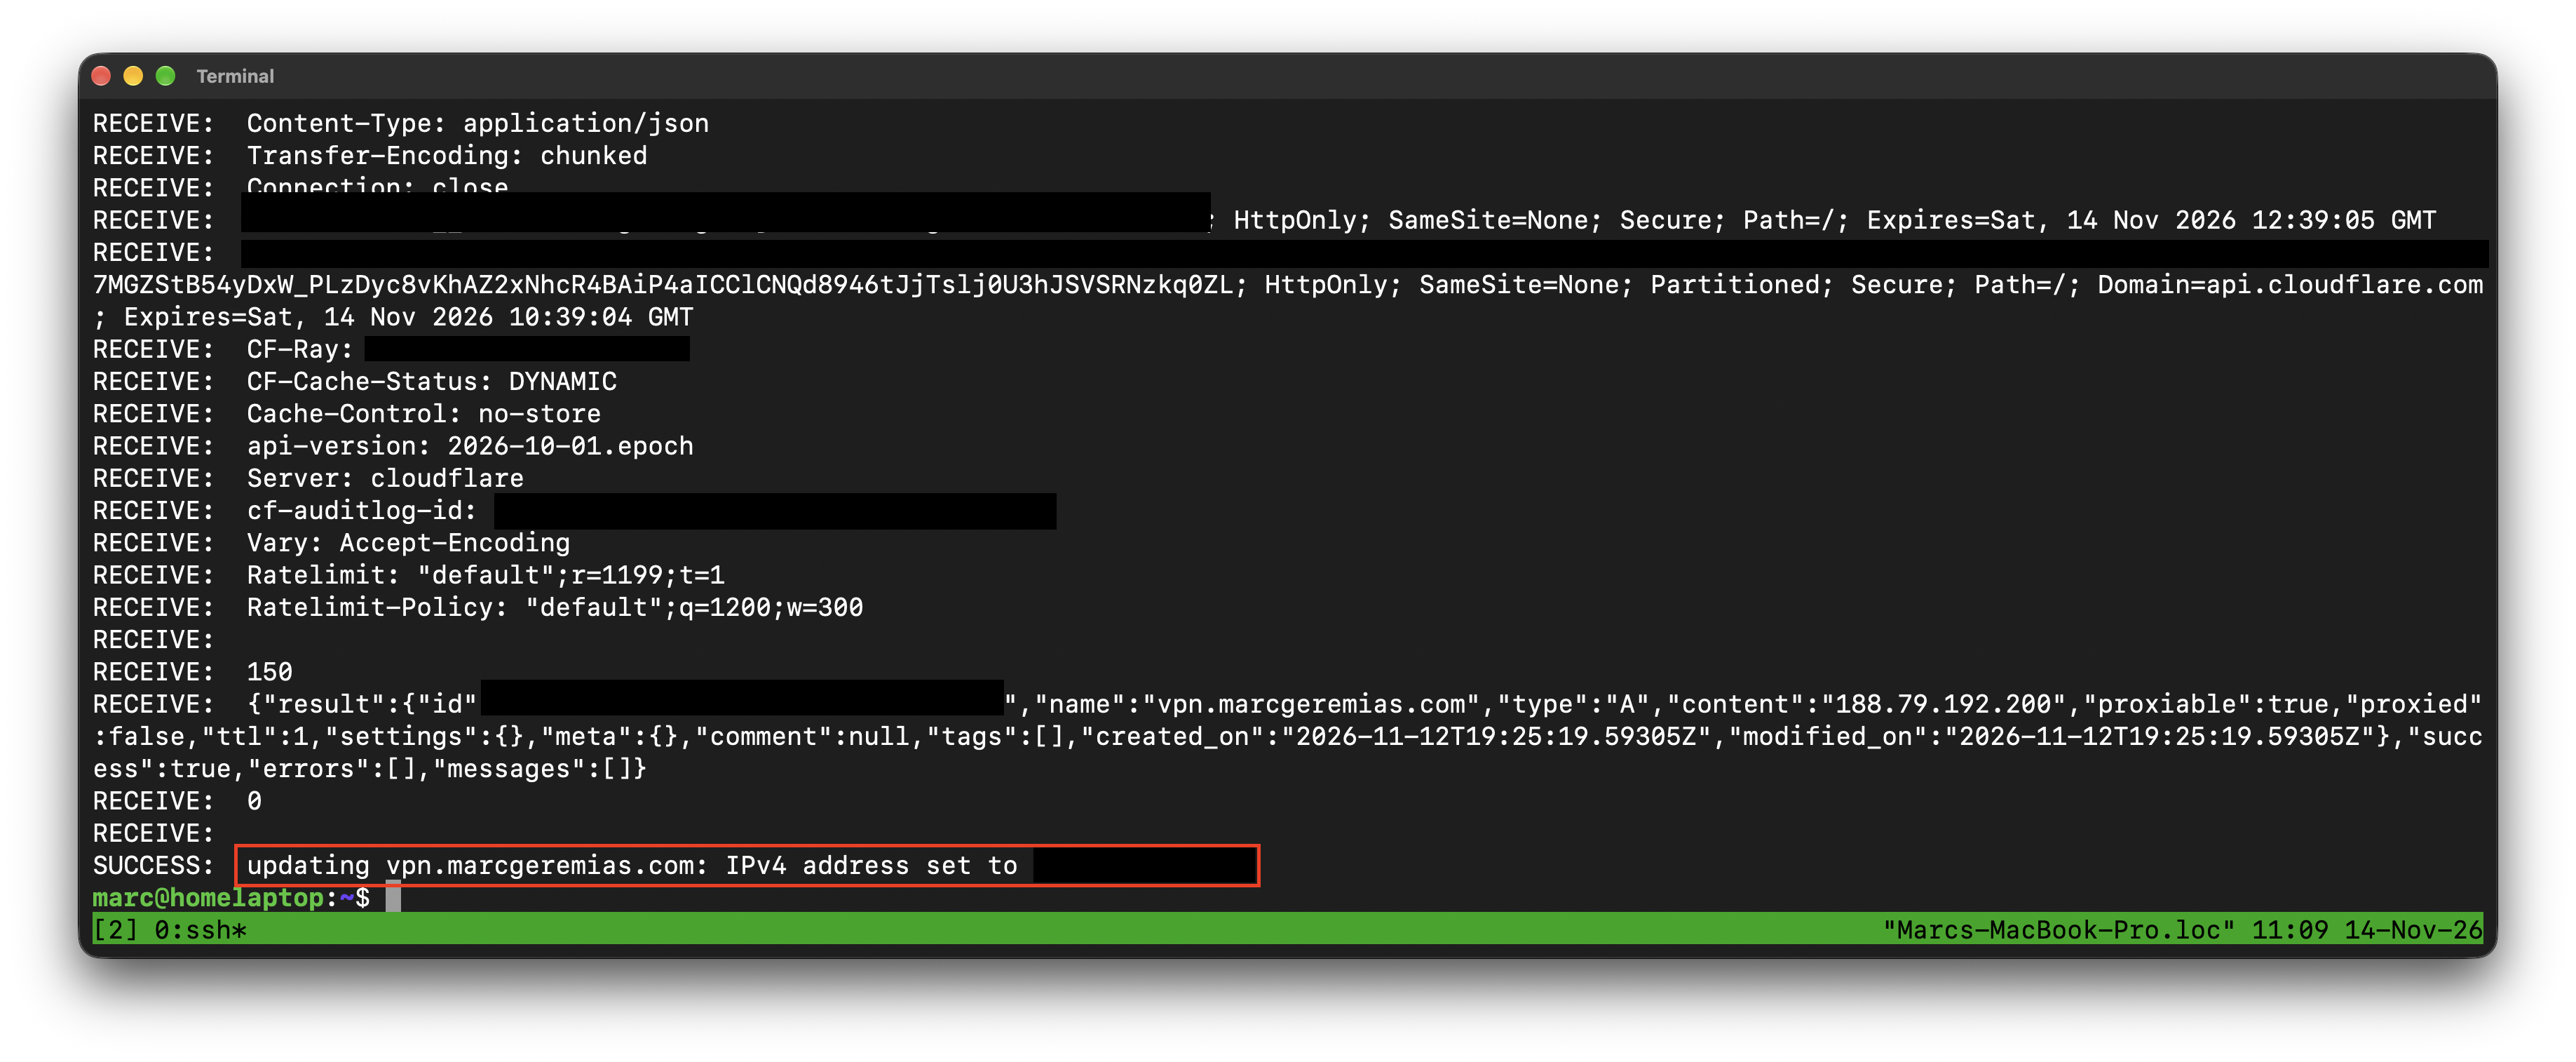
SENDING shows the public IPv4 address ddclient detected and submitted. The HTTP 200 OK, Cloudflare’s "success": true, and ddclient’s SUCCESS message confirm that the API accepted the update. The result also confirms that the right hostname now has an A record with the current address.
The record is set to proxied: false (Cloudflare’s DNS-only or “grey cloud” mode). This is important for this setup because WireGuard uses UDP, while Cloudflare’s standard proxy does not proxy WireGuard traffic. With DNS-only mode, the hostname resolves to my home connection’s public IP. This also means the IP is visible in DNS, and the router must still forward UDP port 51820 to the server.
If the record does not update, the logs are the first place to check. I would also verify that the token has the required zone permissions, that the zone and hostname match the DNS record, and that ddclient can detect the current public IP.
Updating the WireGuard endpoint
The DNS record gives the VPN a stable hostname even though my ISP can change the public IP address. I replaced the numeric IP in the WireGuard client profile with the hostname:
Endpoint = vpn.marcgeremias.com:51820
The hostname is kept current by ddclient; :51820 is still the WireGuard UDP port. The router’s port-forwarding rule must continue to direct UDP port 51820 to the home server. DDNS updates name resolution, but it does not open or forward that port.
Final result
The home server now updates my Cloudflare DNS record directly, without relying on the router’s No-IP integration or a separate DDNS hostname. WireGuard uses that hostname as its endpoint, so future public IP changes should not require editing the client profile, as long as ddclient is running and the router continues forwarding the WireGuard port.
As a separate maintenance decision, I am staying on Ubuntu 24.04 LTS for now rather than moving to Ubuntu 26.04 immediately. I will first check compatibility with the libraries and applications running on the server, then reconsider the upgrade once I have tested the setup.